Introduction
SoftPerfect Network Scanner is a multi-purpose network administration tool for Windows, macOS and Linux. It can ping computers, scan ports, discover shared folders, and retrieve a wide range of information about network devices via WMI, SNMP, HTTP, SSH and PowerShell. It also provides advanced features such as flexible filtering, performance monitoring, and automatic background scanning with notifications.
The application does not require installation and can be run directly. No external services or subscriptions are needed, as all scanning is performed from your device.
Key features
- Fast IP scanning: Multi-threaded ping sweep with ICMP and ARP support for IPv4 and IPv6 networks.
- Port scanning: Check for open TCP and UDP ports to discover running services.
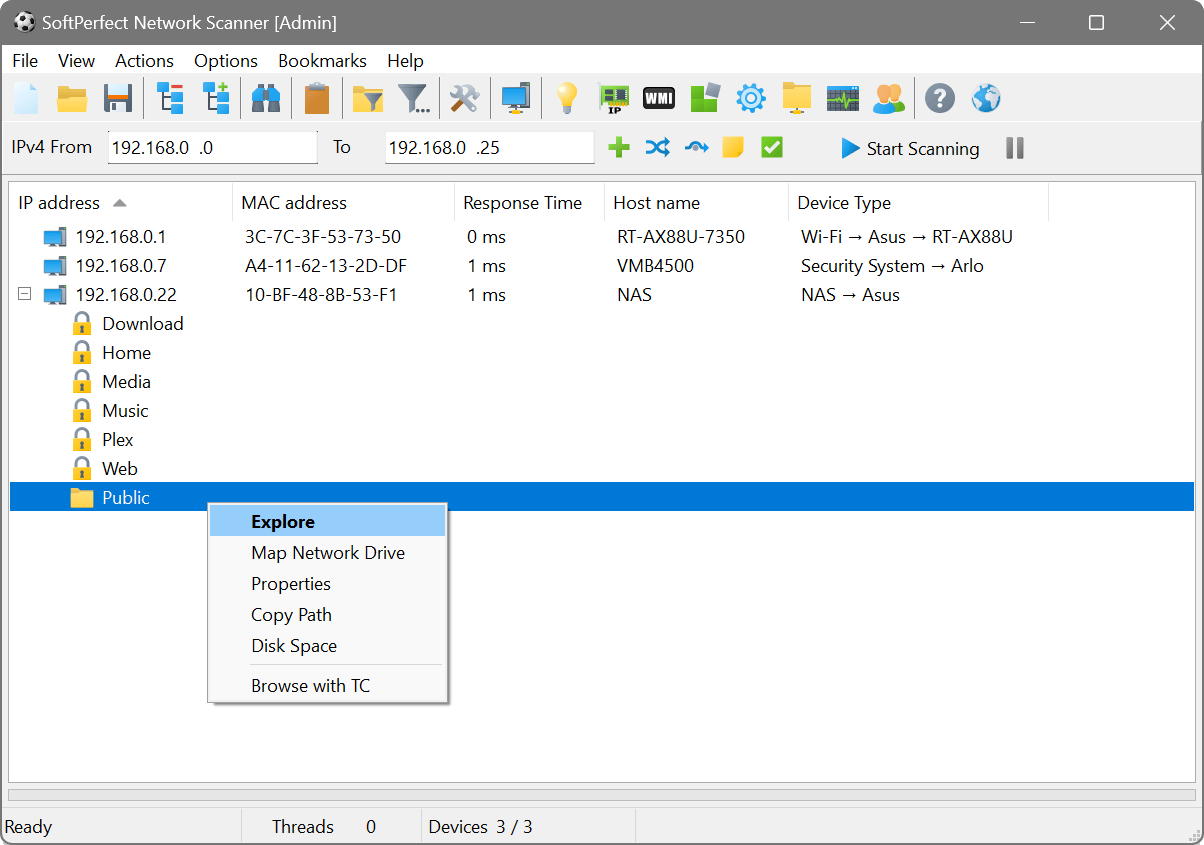
- Shared resource discovery: Enumerate shared folders, printers and drives on Windows networks, with optional security and disk space analysis.
- Device information: Collect host names, MAC addresses, NIC vendors, OS versions, logged-on users, uptime, installed applications, and more.
- Remote queries: Pull live data from devices using WMI, registry, SNMP, SSH, HTTP, JSON, XML, PowerShell and scripting.
- Network discovery: Detect DHCP servers, UPnP, mDNS, WSD and ONVIF devices, and find duplicate IP addresses.
- Background scanning: Continuously monitor the network with popup, e-mail, webhook and sound notifications when devices join or leave.
- Wake-on-LAN: Wake, shut down, restart, suspend or hibernate remote devices.
- Nmap integration: Extend scanning with Nmap for OS detection, service version probing and NSE scripts.
- Flexible output: Export results to HTML, CSV, XML, JSON, TXT or a database. Compare two scans to identify changes.
- Command-line automation: Run scans unattended and export results on a schedule.
- Cross-platform: Available for Windows (32/64-bit, ARM64), macOS and Linux.
Common use cases
- Discovering all devices on a network and building a hardware/software inventory
- Checking which TCP/UDP ports are open on servers and workstations
- Auditing shared folder permissions and verifying write access
- Monitoring server availability and getting alerts when a device goes offline
- Retrieving specific registry keys, files or WMI properties from remote machines
- Querying SNMP-enabled infrastructure such as switches, routers and printers
- Running SSH commands or PowerShell scripts against a fleet of servers
- Detecting rogue DHCP servers or duplicate IP addresses on the network
- Waking up workstations before deploying software updates