Getting started
Before adding an image, shut its virtual machine down. The guest must be shut down properly, not paused, suspended or hibernated, and the hypervisor must not have the disk open; an image in any other state is as a rule declined. Adding an image only analyses it, which is free and changes nothing.
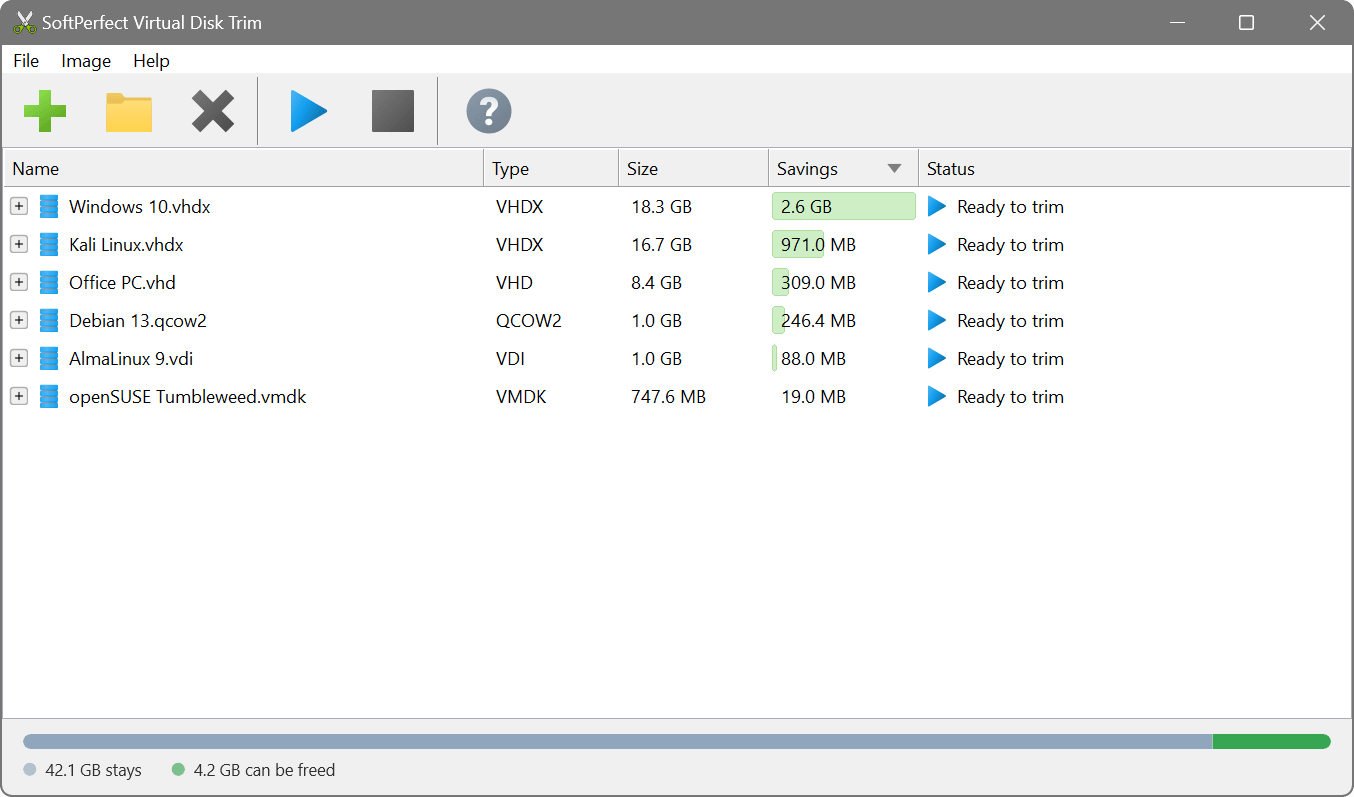
How much to expect
What an image gives back depends on how much has been deleted inside the guest since the image grew. A freshly installed system has little to give; a machine that has been used, updated and cleaned up for months usually has much more.
The figure under Savings before a trim is an estimate made from the file systems’ records alone. The real result may differ a little either way: it depends on the block size of the image format, and on blocks that are in use yet hold only zeros, which are found only while the data is copied. After a trim the column shows what was actually freed.
A status other than Ready to trim or Nothing to trim is the reason an image cannot be trimmed; hover over the row for the full explanation. Inside an image, a volume marked Left as it is is copied whole, for instance because its file system is not recognised, while the rest of the disk is trimmed.
Trial and licence
Without a licence the application is a trial with no time limit: it analyses any number of images and shows how much each can shrink, but does not trim. A licence removes that limit; the key is entered under Help → Enter Licence Key, or installed with the command line tool. It is stored per user, together with the settings, and serves both the window and the command line tool:
| System | Folder |
|---|---|
| Windows | %APPDATA%\SoftPerfect\Virtual Disk Trim |
| macOS | ~/Library/Application Support/SoftPerfect/Virtual Disk Trim |
| Linux | ~/.config/SoftPerfect/Virtual Disk Trim |