Getting started
This guide will help you get the TFTP server up and running quickly.
First launch
When you first start the TFTP Server application, you will see the main window:
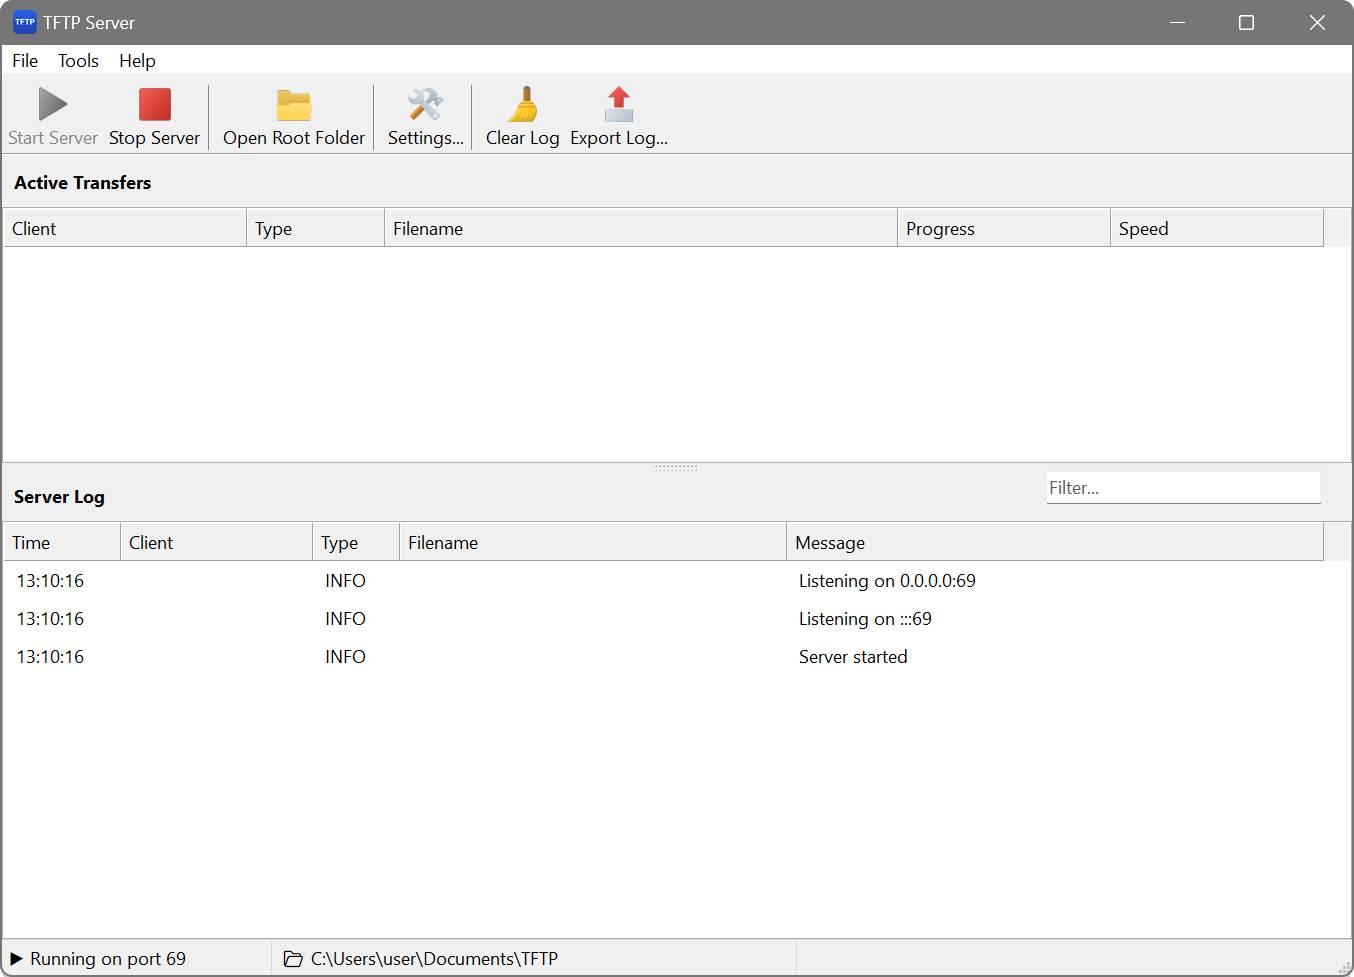
The main window displays:
- Server status — Shows whether the server is running or stopped, along with the listening port and root directory.
- Transfer list — Displays active and recent file transfers with details such as client IP, filename, direction (read/write), progress, and speed.
- Log panel — Shows server events and transfer activity in real time.
Basic setup
Before starting the server, you should configure at least the root directory:
- Click the Settings button in the toolbar or press Ctrl+S.
- Set the Root directory to the folder containing files you want to serve. This is also where uploaded files will be stored.
- Adjust the Port if needed (default is 69). Note that ports below 1024 require administrator privileges.
- Click OK to save your settings.
Starting the server
To start the TFTP server:
- Click the Start button in the toolbar, or
- Use the menu Server → Start, or
- Press F5.
The status bar will show “Running” and display the listening address and port. The server is now ready to accept TFTP requests.
Testing the server
You can test the server using any TFTP client. For example, on Windows:
tftp -i 127.0.0.1 GET filename.txt
Or using curl:
curl tftp://127.0.0.1/filename.txt -o filename.txt
Stopping the server
To stop the server, click the Stop button, use Server → Stop, or press F6. Active transfers will be terminated.