Data management
The Network Scanner provides tools for saving, loading, comparing and organising scan data.
Saving results
Choose File → Save Results or press Ctrl+S to save the current scan results to a file. The available formats are XML, CSV, HTML, TXT and JSON. The XML format preserves all data and can be loaded back into the application.
Loading results
Choose File → Load Results or press Ctrl+L to load a previously saved XML file. A dialog lets you choose whether to rescan the loaded data and whether to clear or append to the current results. See Background scanning for details on the rescan options.
The Recent Files submenu under the File menu provides quick access to recently opened files. You can also enable Auto Load/Save to Most Recent File to automatically reload the last scan when the application starts and save it when the application closes.
Scan comparison
You can compare two saved scans to identify what has changed. Choose Reports → Compare Scans and load two XML files. For ongoing tracking of the same network rather than one-off file comparison, see device history.
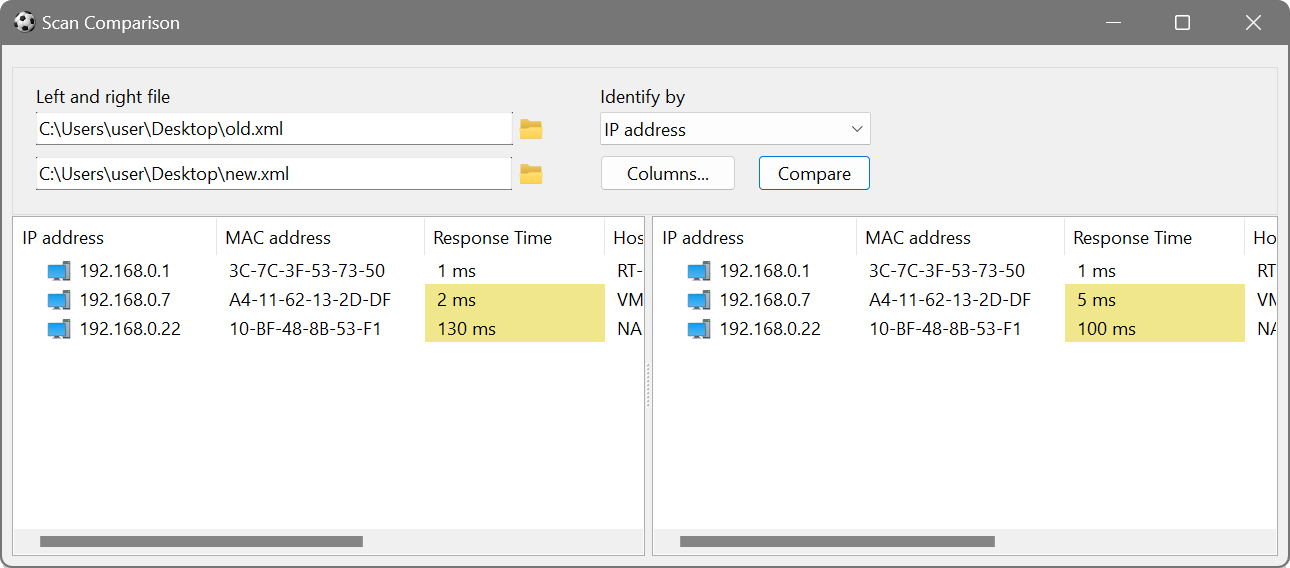
The comparison can identify devices by IP address or MAC address. Click Compare to see the differences. Click Columns to choose which columns to include in the comparison.
Save a baseline scan at the beginning of each week. At the end of the week, run a new scan and save it. Then use Compare Scans to see which devices appeared, disappeared, or changed. This is useful for change management and detecting unauthorised network modifications.
Bookmarks
Bookmarks let you save frequently used IP address ranges for quick access. Choose Bookmarks → Manage Bookmarks from the menu, or use Bookmarks → Add Current Range to save the current address bar contents.
The bookmarks dialog shows two columns: Item Name and Range Info. You can add, edit, delete, export and import bookmarks.
When clicking a bookmark in the Bookmarks menu, the current IP addresses are replaced with those in the bookmark. Hold Ctrl to append them instead, or Shift to open them in a new window. The same applies to choosing one or more IP addresses in the automatic IP address detection dialog and to importing IP/Hostnames.
You can group bookmarks by using a vertical bar in their names. For example, naming bookmarks London | Subnet 1 and London | Subnet 2 creates a London submenu containing both entries.
Friendly names and associated data
Friendly names let you assign descriptive labels to devices so they are easier to identify, and associated data lets you store extra information such as asset tags or locations against each device. See Friendly names and comments for full details.
Ignored addresses
If there are IP addresses you never want to scan, add them to the ignored list via Options → Ignored IP Addresses. Enter one address per line; wildcards are allowed (e.g. 10.0.0.*). These addresses will be skipped during every scan.
Configuration management
The File → Current Config submenu provides tools for managing the application configuration:
- Save to File: export all current settings to an XML file.
- Load from File: import settings from a previously saved XML file.
- Reset to Default: restore all settings to their factory defaults.
- Set Master Password: protect the configuration file with encryption. See Credentials and security for details.