Getting started
This guide walks you through your first network scan and introduces the main application interface.
The main window
When you launch SoftPerfect Network Scanner, you will see the main window:
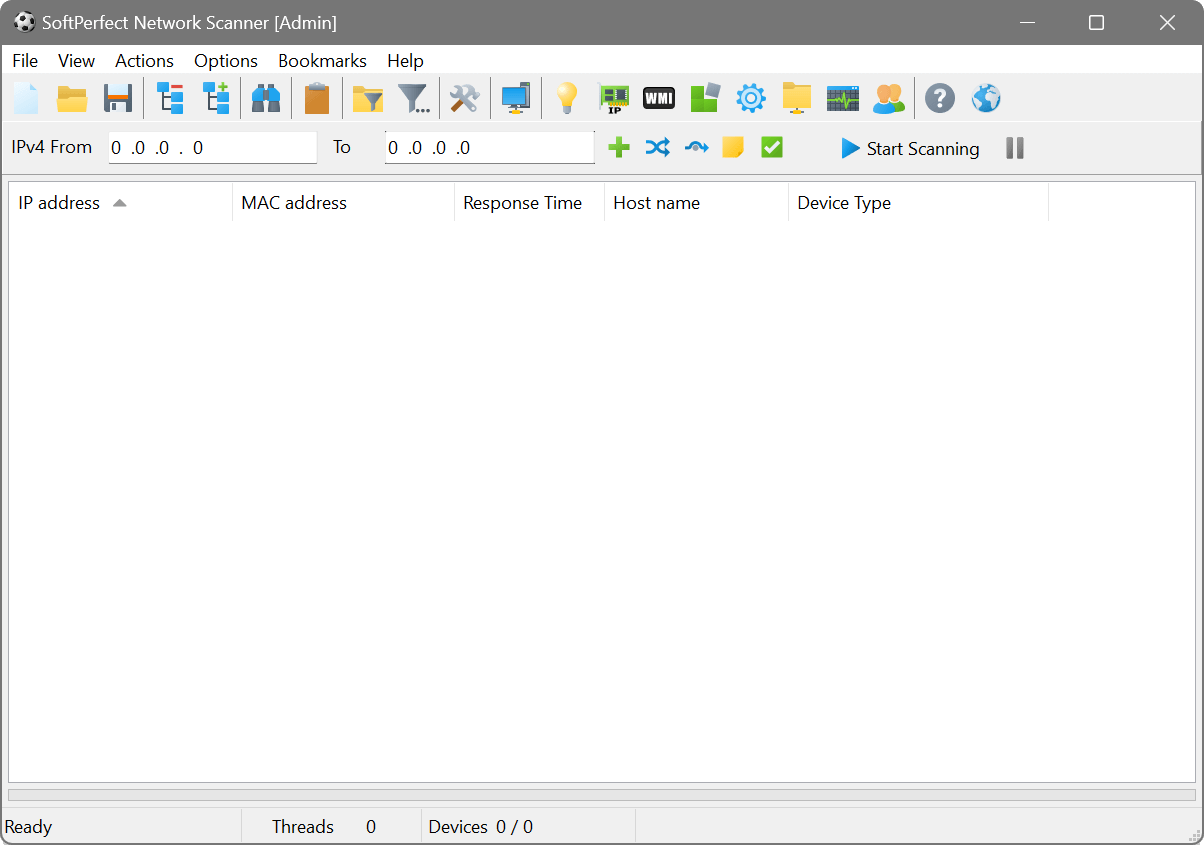
The main window consists of:
- Menu bar: Access to all commands and settings. Use File → New Window (Ctrl+N) to open an additional instance of the application with the same settings.
- Toolbar: Buttons for frequently used actions (see toolbar reference below).
- Address bar: One or more IP address ranges to scan. You can add multiple ranges, switch between IPv4 and IPv6, and use CIDR notation.
- Results area: A tree view showing discovered devices and their properties in columns.
- Background scan panel: Controls at the bottom for enabling continuous scanning.
- Status bar: Displays scan progress, thread count and the number of discovered devices. Right-click the device count area to choose which statistic is shown: Filtered, Online or Offline.
Your first scan
To scan your local network:
- Click the Detect button
 in the toolbar, or choose Options → IP Address → Auto Detect Local IP Range from the menu.
 - In the auto-detection dialog, select your network adapter and click OK. The IP address range will be filled in automatically.
- Click Start Scanning in the toolbar or press Ctrl+Enter.
- Wait for the scan to complete. Discovered devices will appear in the results area.
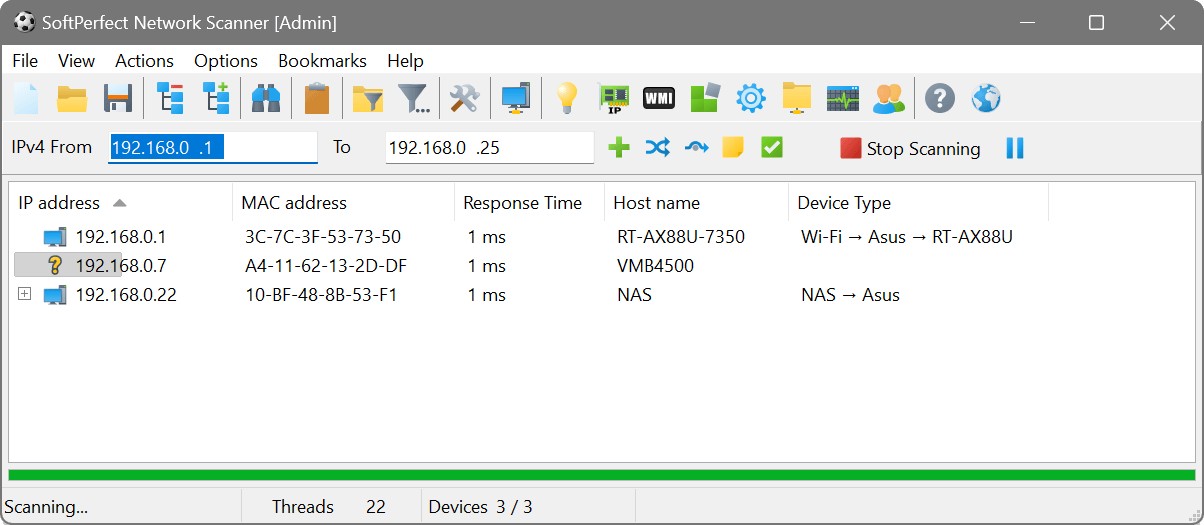
By default, the scanner pings each IP address and resolves host names. You can enable additional information gathering such as MAC addresses, open ports, shared folders and more in Scan options.
Suppose you want to find out what devices are connected to your office LAN, along with their host names, MAC addresses and the operating system they are running. Here is how:
- Auto-detect your local IP range as described above.
- Open Scan options (Ctrl+O) and on the Additional tab enable Resolve MAC addresses and Look up network card vendor.
- Add the Windows Name WMI query to retrieve the operating system name.
- Click OK and start the scan.
The results will show each device’s IP address, host name, MAC address, NIC vendor and OS name in separate columns. You can then save the results to a file via File → Save Results.
Navigator
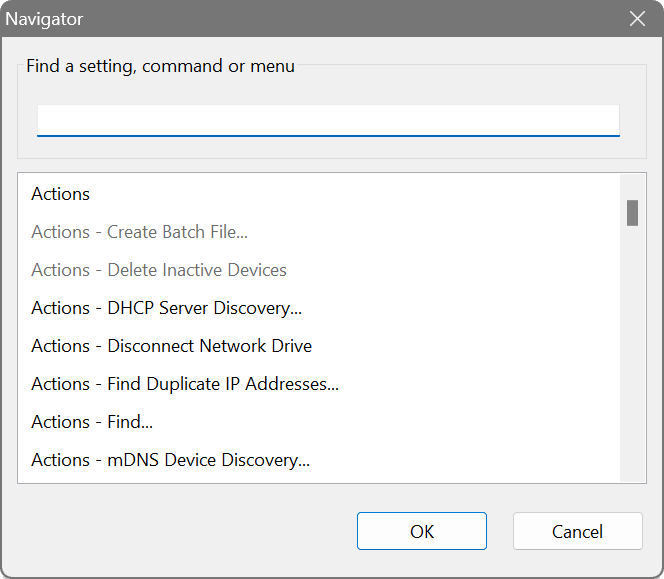
The Navigator is a quick search tool that helps you find any setting, menu command or remote query item without browsing through menus. Open it by pressing F1 or choosing Help → Navigator.
Type a few characters of what you are looking for and the Navigator will filter matching items in real time. Double-click a result to open it immediately. This is especially handy once you have many remote queries, custom applications and options configured.
Toolbar reference
The toolbar provides quick access to the most common actions. You can customise which buttons appear via View → Toolbar Settings.
| Clear: Clear the results display. | |
| Load: Load scan results from a previously saved XML file. | |
| Save: Save the current scan results to a file. | |
| Collapse: Collapse the results tree to show only top-level items. | |
| Expand: Expand the results tree to show all nested items. | |
| Find: Search the results tree for a specific value. | |
| Paste: Paste an IP address from the clipboard into the address bar. | |
| Shares filter: Show only devices that have shared folders. | |
| Advanced filter: Open the advanced filter panel for flexible result filtering. | |
| Options: Open scan options. | |
| DHCP Discovery: Discover DHCP servers on the network. | |
| Wake-on-LAN: Open the Wake-on-LAN manager. | |
| Detect: Automatically detect the local IP address range. | |
| WMI: Open the WMI query manager. | |
| Registry: Open the remote registry query manager. | |
| Services: Open the remote service query manager. | |
| Files: Open the remote file query manager. | |
| SNMP: Open the SNMP query manager. | |
| Groups: Open the remote groups query manager. | |
| Help: Open this online manual. | |
| Add: Add an IP address range to scan. Hold Ctrl to add an IPv6 range instead of IPv4. | |
| Pause: Pause the running scan. Click again to resume. The button appears only while a scan is in progress. | |
| CIDR: Convert between a range and CIDR notation. | |
| Scan mode: Toggle between regular range mode and octet range mode. | |
| Comment: View or set a comment for the current IP address range. |